With just a few pretty blooms and some ordinary household supplies, you can press flowers in a flash.
Pressing flowers has to be one of the easiest crafts in the world. Back in the day, blooms were preserved in a flower press or between the pages of a heavy book, and took weeks to dry completely. But today, a microwave can help you get the job done in one minute flat. Glue your finished petals to poster board and place them in a glass-fronted frame, and you’re done. And if you make it now, you’ll have bit of summertime to cheer you through the coming cold winter months.

1. Gather up single-petaled flowers and leaves with interesting shapes. Some that work well are impatiens, marigolds, pansies, violets, cosmos, phlox, primrose, single-petaled roses, ferns, lobelia, delphinium, larkspur, and daisies. Not all flowers retain their colors well once pressed, so you’ll want to experiment with a variety of different kinds. Pick blooms later in the day when they have had a chance to dry out from the morning dew.
 2. Snip flower heads off of stems with scissors and remove petals from certain flowers, such as marigolds, that won’t lay flat. You can always put the flowers and their stems back together when arranging them for mounting. You can leave the stems on flowers that will be pressed on their sides, rather than face down, but you basically want things to be able to lie as flat as possible.

3. Create your pressed flower sandwich: place a sheet of paper towel on a microwavable plate or microwave tray, then a sheet of parchment paper, tissue paper, or regular white paper, then some flowers, face down or flat. Cover with another layer of parchment paper, tissue paper, or white paper, another piece of paper towel, and another flat plate or pie plate that will cover all the flowers. Plan to press your flowers in batches, rather than all at once. Use fresh paper towels and parchment paper for each batch.

4. Place the sandwich into a microwave and run it on high for 1 minute. Once things are cool enough to handle, remove from microwave and check on flowers. If they are super-dry and flat, they’re done. If they still look a bit juicy, run them for another 30 seconds, and check again.

5. Successfully pressed flowers will be quite flat and delicate. Some may look rather different once pressed, and bright flowers may turn brown. Keep trying a variety of blossoms, and save the ones that remain the most colorful after pressing. Leave flowers between their sheets of parchment paper until ready to use. Be sure to dry some leaves as well, to add interest to your final piece.

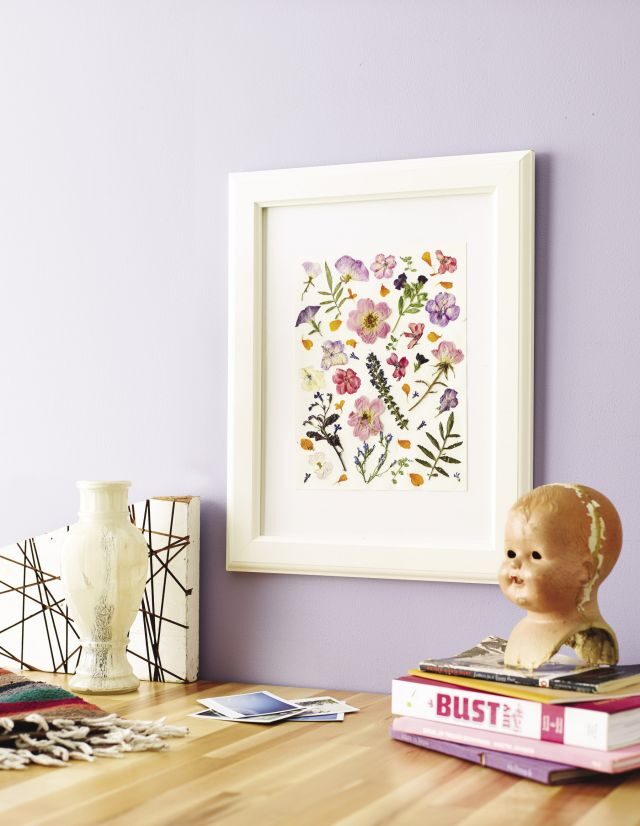
6. Remove flowers from sheets carefully, using tweezers, and arrange them on poster board until you achieve a pleasing composition. Then, using craft glue and a small paintbrush, lift each flower, brush a bit of glue onto the poster board beneath it, and replace the flower to secure it. Wait for the glue to completely dry before placing poster board with flowers face down onto frame glass, then attaching the back of the frame.
Article by Debbie Stoller
Photos by Sarah Anne Ward and Lauren Clemente
Prop Stylist: Heather Newberger; Flowers: Courtesy of Teleflora
This article originally appeared in the Aug/Sept 2015 print edition of BUST Magazine. Subscribe today!

