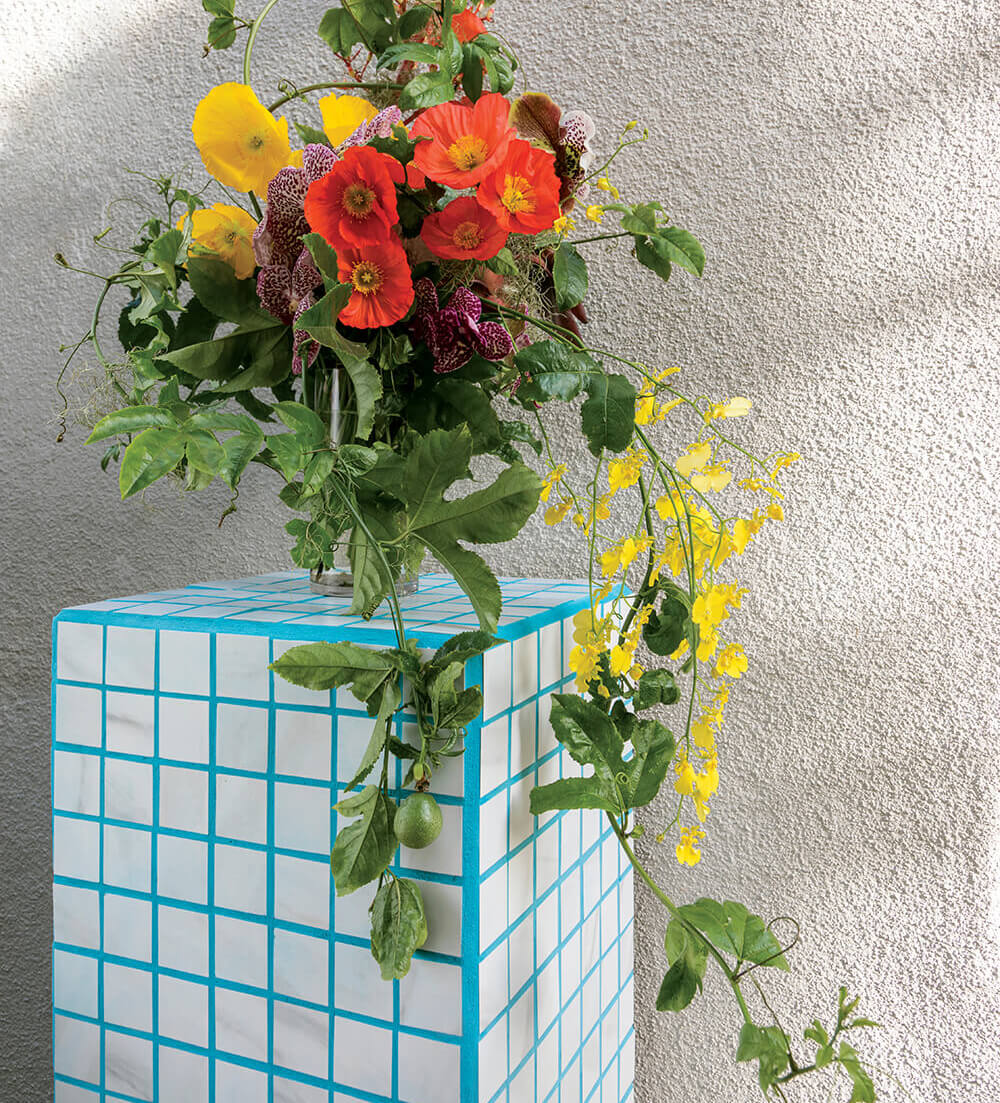
Turn any old piece of furniture into a total tile icon
Whether you’ve got a boring table or an ugly nightstand, a little mosaic-style tile and grout is an easy way to give just about any piece of furniture a brand-new look. And it’s way easier than the dramatic finish would have you believe. Tiles are available at just about any home-improvement store, but it’s worth a visit to your local independent tile shop—they typically have more interesting options and will often have leftover tiles from custom jobs that you can get on the cheap. All you’ve got to do is line ’em up.
Supplies
Cloth
2″ x 2″ square tiles (typically sold in 12″ x 12″ sheets)
Adhesive spreader
Tile adhesive
Sanded grout
Plastic container (for mixing grout)
Colored pigment (optional; we used Tbrand iron oxide pigment in Blue, $17.99, amazon.com)
Plastic gloves (optional)
Grout float
Cellulose sponge
Bucket
Unless otherwise noted, all supplies are available at hardware supply or home-improvement stores.
INSTRUCTIONS
«1»
Wipe your piece of furniture down with a wet cloth to remove any dirt or stickiness.
«2»
Lay out your tile sheets on each surface you want to cover to measure how many you’ll need. Depending on the size of your surface, you may be able to simply set your tiles as full sheets, trimming as necessary, if the edge of the tiles sets the way you want it to. But more likely than not, you’ll want to cut your tiles and place them individually so you can control the spacing.
«3»
Use the adhesive spreader to smooth a thin layer of tile adhesive onto the area of the surface you’re going to tile first (start in one corner to make placement easier). You want enough adhesive for the tiles to stick, but not so much that it squishes up around the tiles. Line up your tiles with the surface’s edge and press them gently but firmly into the adhesive, eyeballing the space between tiles (A). (Placement doesn’t have to be perfect on the first try; you have some wiggle room as long as the adhesive is wet.) If the adhesive does come up through the spaces around the tiles, wipe it off with a wet cloth before it hardens. Once you have covered the entire surface, let it dry until fully set, or for 24 hours.
 A
A
«4»
Once the adhesive is dry, it’s time to prepare your grout in the container. If you’re using pigment to make a custom grout color like we did, you’ll want to add it to your grout powder now. (We used about 50 grams of pigment for 3 pounds of grout. Start with small increments of pigment as color is easy to add, but difficult to remove.) Stir it up, then mix the grout by carefully following the package instructions.
 B
B
«5»
Using the adhesive spreader, scoop a decent amount of grout onto the tiled surface—you want enough to fill in the cracks between each tile, all the way to the original surface of your furniture piece. Spread the grout all over the tiles, using the spreader to push it into each crack. You can also use your fingers in places where you want to push it deeper, or if you need to fill a gap (B).
 C
C
«6»
Once you’ve filled each space with grout, use a tile float to go over the tiled surface; this will even out the grout between your tiles. Hold the tile float at about a 60-degree angle and move it across the surface at a diagonal (so as not to accidentally remove any grout from between the tiles) to swipe off excess grout (C).
 D
D
«7»
After you’ve used the tile float on the entire tiled surface, let the grout set for about 5 to 10 minutes. Then you’ll want to wipe off any excess grout that’s left. Fill your bucket with water, dip your sponge into it, and wring it out completely. Use the sponge to wipe off the face of the tiles, running it flat over the surface while being careful not to pull grout out from between the tiles (D). Repeat until you’ve rinsed nearly all of the excess grout off. For a final rinse, dip your sponge in a bucket of clean water, wring out entirely, and wipe off the surface one more time, holding the sponge at about a 60-degree angle and wiping diagonally in overlapping strokes. When one edge of the sponge gets dirty, flip it over to use a clean edge. Repeat, using only clean edges, until the surface is clean and the faces of the tiles are grout-free. Let the grout dry until it’s fully set, or for 24 hours, then your piece of furniture is ready to use! –Jessica Darakjian
FLORAL DESIGN: BRANDON KHÔI NGUYEN
PHOTOGRAPHED BY MEG WACHTER
This article originally appeared in BUST’s Spring 2022 print edition. Subscribe today!


