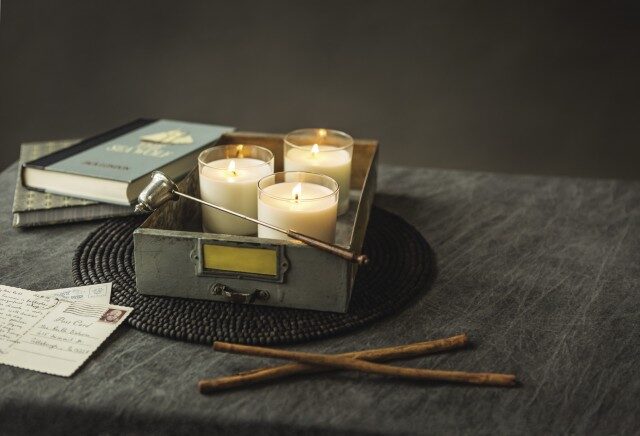
Light up your life with delicious-smelling DIY candles!
Now that the days are short and the nights are long, a little candlelight makes everything cozier. I jokingly tell people that I started making candles when I realized it would be cheaper than continuing to buy them at the rate I was going — but I’m only half-kidding. Whether you’re a wick-burning addict like myself, or just want to kindle your own flame, here’s a great starter tutorial (that I adapted from CandleScience.com, a great place to get real nerdy about the process) that’ll leave you with two 8-oz. soy wax candles, perfect for warming up the coming winter months.
What you’ll need:
- 1 lb. of Golden Brands 464 soy wax*
- 1 oz. fragrance oil* of your choosing (I used Cedarwood Vanilla; you can also blend fragrances to make one you love!)
- 2 ECO-14 candle wicks*
- 2 10-oz. glass tumblers**
- Hot glue gun
- Metal pouring pitcher
- Large saucepan (to create a double boiler)
- Kitchen scale
- Meat or candy thermometer (you won’t want to use this with food again, as it will be dipped in your wax)
- Disposable wooden chopsticks or skewers
*Available at CandleScience.com
**You can use different containers, as long as they’re around the same diameter, otherwise you’ll need a different wick to make sure the wax burns consistently.

Instructions
1. Measure out your wax and fragrance oil(s) on a kitchen scale in containers you’re not going to use again, like plastic cups. Pour your wax into your pouring pitcher.
2. Fill a saucepan with an inch or two of water and place over medium-low heat. Once simmering, place your pitcher in the saucepan to create your double boiler (A). (You should never place candle wax directly on the heat source, it can burst into flame if it gets too hot!)
3. While the wax is melting, affix a wick inside each tumbler by putting a generous dab of hot glue on the metal wick tab, then sticking it to the center of the tumbler’s floor. Wrap the top of the wick around a chopstick or clothespin, which you can set atop the tumbler, to keep it straight. Let them set for a few minutes.
4. Stir your wax with a chopstick or skewer every minute or so as it melts (you don’t want any sticking to the bottom and burning). Check the temperature with your thermometer as you go. When your wax reaches 185 degrees (about 10 or so minutes), remove your pitcher from the saucepan and add your fragrance oil. Stir the wax for about 2 minutes to blend.
5. When your wax cools to 130 degrees (about 15 to 20 minutes), pour it into your tumblers (B) leaving an inch of space at the top (you want to make sure your lit wick will be below the tumbler’s edge for safety reasons).
6. Let your candles sit for about two hours to let the wax harden. Then trim each wick to about ¼-inch for optimal burning.
7. Here’s the hardest part: you have to let your wax cure. I’ve found that a week or two gives you the best end result. It will feel like forever, but it will be worth it!
Written by Katie Oldaker, ohcandles.etsy.com
Photographed by Kaela Speicher
This article originally appeared in the October/November 2016 print edition of BUST Magazine. Subscribe today!
More from BUST
How Embroidery Made Me A More Well-Rounded Feminist
How To Make A Block-Printed Tea Towel: BUST DIY
This Japanese Denim Repair Technique Will Make Your Jeans Look Cooler Than Ever

