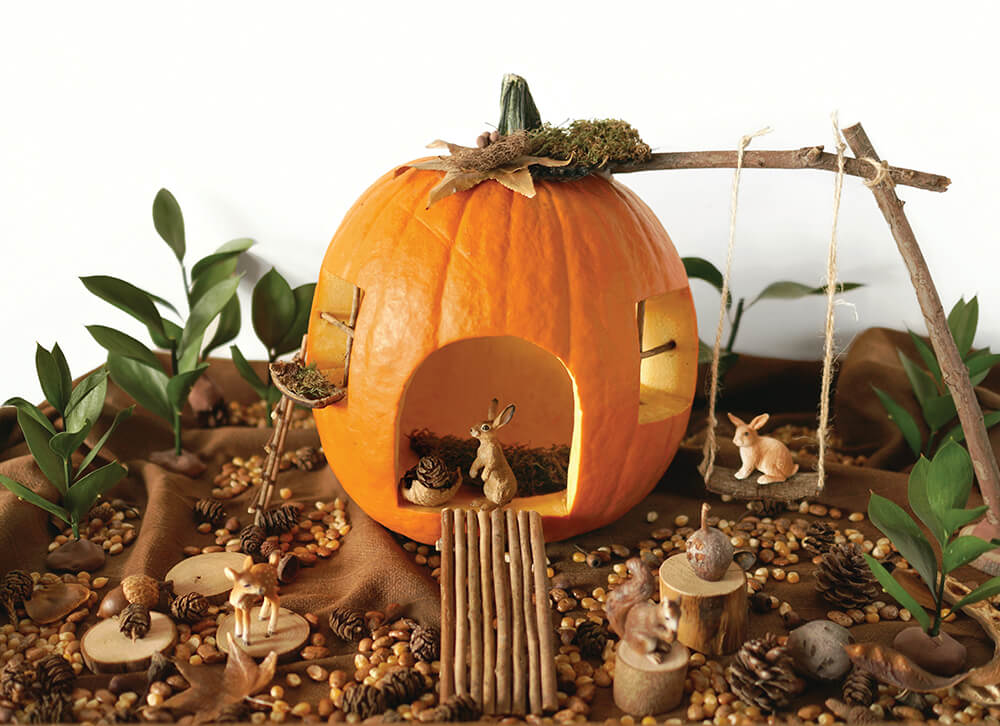
Are you gourd to death by regular ol’ jack-o’-lanterns? Get creative with fall décor that’s more sweet than spooky by turning this year’s pumpkin into a tiny home fit for fairies, gnomes, or wee woodland creatures. This project was inspired by the pumpkin house displays at the pick-your-own farms my son and I visit every year. We decorated ours with found natural elements, so start by taking a seasonal foraging stroll around your own neighborhood. –Ashley Koshimizu (@woodlark)
Materials
Natural items such as bark, pinecones, moss, rocks, acorns, dried beans, leaves, feathers, seedpods, gumnuts, fresh greenery
Instructions

1) Use a serrated knife to carve openings into your pumpkin in the shape of a curved door with a square window on each side. (You can use a pencil or pen to mark the shapes first.) Make the door opening big enough so that you can then use a metal spoon to remove all of the seeds and flesh from inside the pumpkin.

2) Add a frame to one window by breaking or cutting a twig into two pieces that are slightly longer than the height and width of the window. Secure the vertical stick in the window opening by inserting it into the flesh, then insert the horizontal stick using the same method. Repeat for the second window.

3) Create a bridge for the front door by gluing sticks of equal length together. If the sticks are fairly straight, you can hot glue them together directly side to side. If they’re too wonky for that, glue two additional sticks width-wise across each end for support. (This technique can alternatively be used to make a door for your pumpkin house.)

4) To make the ladder, start with two long thin sticks of equal length. Hot glue “rungs,” or short sticks, at equidistant intervals across the long sticks. Lean the ladder against the outside of your pumpkin house.

5) To make the swing, first fashion the stand out of two larger sticks, trimming to the right size; create a slightly obtuse angle and secure the ends by wrapping them together with twine. Make the perpendicular stick sturdy by wrapping the bottom end with a small piece of air-dry clay and pressing it onto a small wooden round. Hot glue the end of the top stick near the pumpkin’s stem. Choose a small, flat piece of bark for the swing’s seat. Decide how long you want your swing to be and cut two pieces of twine, each one twice as long as the desired length. Wrap the first piece of twine around the edge of one side of the bark and knot; hot glue to secure and repeat on the other side. Hang the swing by knotting each side of twine above the top stick; trim any excess.


6) Add accents to your house using your natural materials. We glued moss and leaves to the roof as well as a small bird’s nest with eggs that my son made out of air-dry clay. We also glued a seedpod under one of the windows to make a window planter. For the “trees” I stuck sprigs of greenery into bases made out of air-dry clay. As a final touch, we added beans and lots of small pinecones. When you’re done, place your tiny animals and let them enjoy all the creature comforts you’ve created!
All photos photographed by Ashley Koshimizu
Was originally published on Woodlark Blog.


